
Introduction to Mixing: How to Think in 3D and Build a Powerful Stereo Mix
If you’ve ever opened a mixing session and felt overwhelmed by all the tracks sitting there, you’re not alone. Mixing can feel like a dark art at first. But once you understand what’s really happening—once you know how to think about sound in space—it becomes a lot more logical, creative, and honestly, a lot more fun.
In this first introduction to mixing, we’re going back to the basics. Before diving into mixing consoles, plugins, or advanced techniques, we need to understand the core idea behind mixing music: how to take multiple individual sounds and fit them into two speakers in a way that feels balanced, clear, and musical.
From Mono to Stereo: Why Mixing Exists at All
Let’s start with the recording process itself. When we record a song, every instrument is recorded separately onto its own track. A drum kit gets its microphones, the bass gets its own signal, guitars, keys, vocals—everything lives on its own track.
But it wasn’t always like this.
The very first recordings were done in mono. That means one microphone, one signal, one speaker. If you wanted balance between instruments, there were no faders or pan knobs. You literally moved the musicians around the room. If someone had a solo, they stepped closer to the microphone. If they were too loud, they stepped back.
That physical movement in the room was the original form of mixing.
Fast forward to modern times. Most people listen to music over two speakers or headphones, which means we’re now working toward a stereo mixdown. Even if you’re making electronic music, this theory still applies. The tools are different, but the concept of balance and space is exactly the same.
Tracks, Signals, and the Idea of the Mixing Console
Let’s imagine we’re recording a band. We’ve got a drum kit, a bass player, two guitar players, a keyboard player, and a small brass section. We place a microphone in front of every instrument.
Each microphone sends a mono signal into a mixing console. From there, we control the levels, and the signal gets sent to tape. Nowadays, of course, this all happens inside a computer, but it’s still useful to think in terms of a tape machine because it keeps signal flow simple and easy to understand.
After the band finishes playing, we’re left with eight separate tracks. That’s where the mix phase begins. Now our job is to take those eight tracks and fit the entire band into two speakers.
Visualizing the Mix as a 3D Space
This is one of the most important concepts in mixing: you’re not just adjusting sounds, you’re placing them in space.
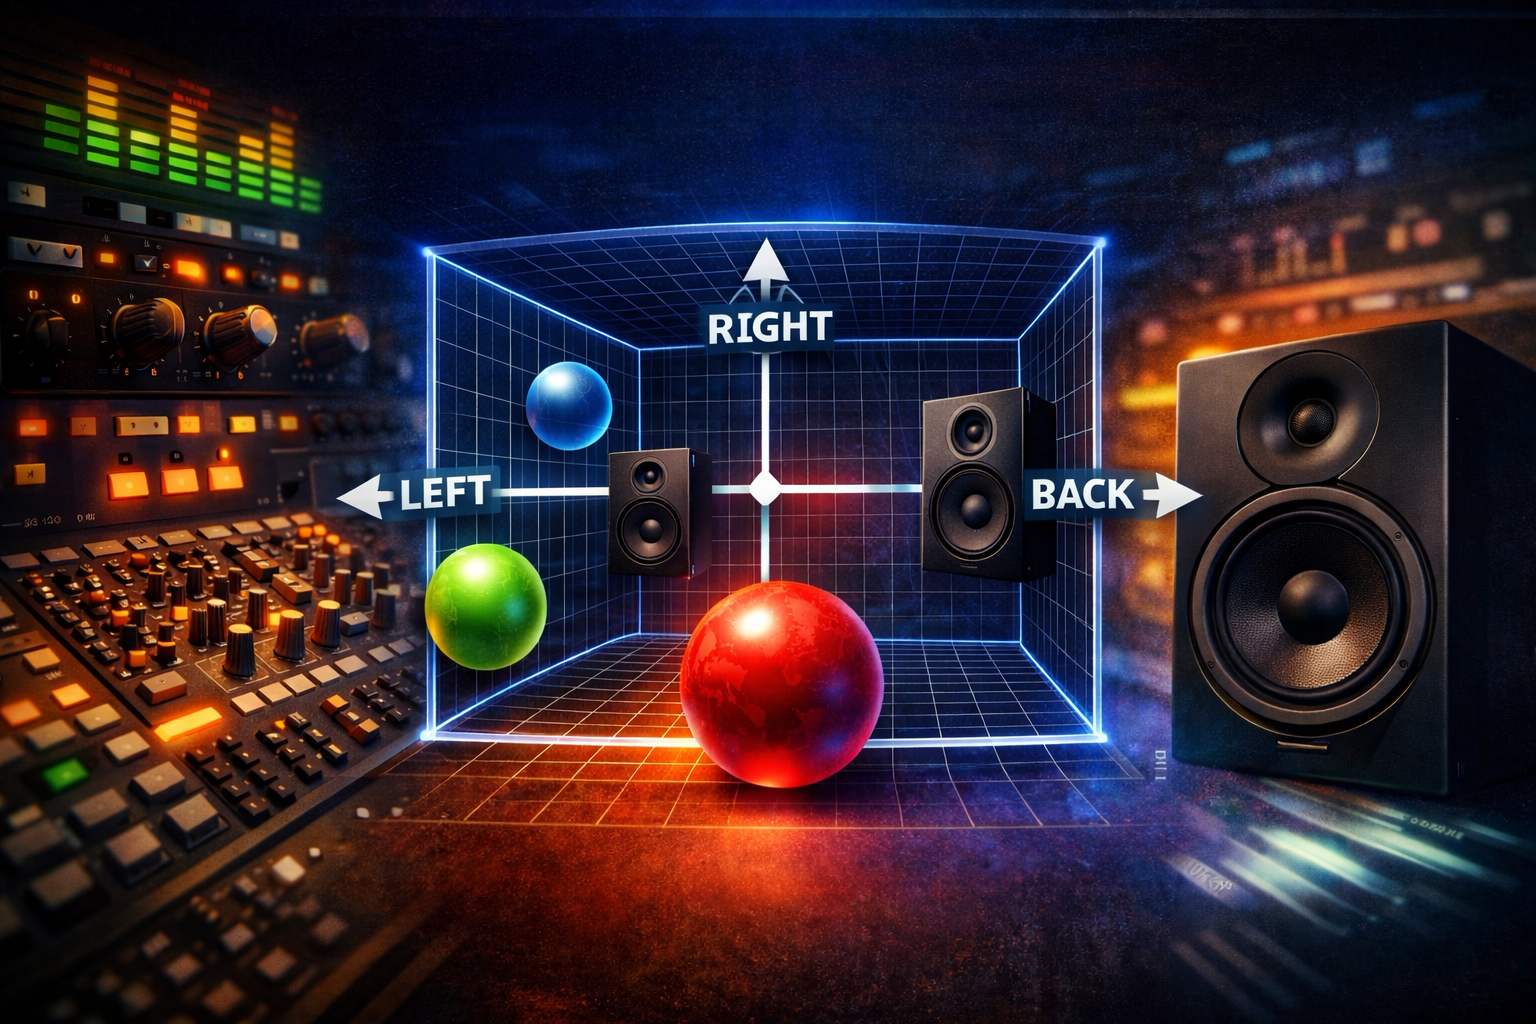
Between the left and right speaker, there’s an imaginary three-dimensional environment. This is where your mix lives. Once you start visualizing this space, mixing becomes much more intuitive.
We can move sounds forward and backward by changing the volume. Louder sounds feel closer, quieter sounds feel further away. This is often referred to as working on the Z-axis.
With the pan knob on each channel, we move sounds left and right between the speakers. When a sound is panned to the center, it comes out equally loud from both speakers. Since there’s no physical speaker in the center, we call this the phantom image.
The vertical dimension comes from frequency. Low sounds feel like they sit lower in the mix, while high sounds feel like they sit higher. Bass is low, treble is high. That means we can now visualize our entire mix in a true 3D space.
Once you see it this way, everything starts to make sense.
Audience Perspective and Basic Instrument Placement
When mixing, we usually take the audience’s perspective. That means we place instruments in a way that reflects how they might appear on stage.
In our example band, the two guitar players were standing on opposite sides of the room. So it makes sense to pan one guitar slightly to the left and the other slightly to the right. This immediately creates space and separation.
A good rule of thumb is that bass frequencies should stay in the center. Kick drum and bass line usually live in the phantom image. This keeps the mix solid and focused.
If the keyboard player was on the left side of the room and the brass section was on the right, we pan them accordingly. Just by doing this—without touching any plugins—you already create a rich and wide stereo image.
Different Mixing Styles and Why They Matter
Not every mix should sound the same. The style of music matters a lot.
One approach is a very open and defined mix. Here, instruments are clearly separated, and the gaps between them can be filled with reverb. Reverb creates an aura around a sound and makes the mix feel spacious. This works beautifully for styles like jazz or acoustic music.
Another approach is the more commercial “wall of sound.” In this type of mix, the focus is usually on the vocals. The vocal feels like it’s in front of the band, or at least clearly in front of the music. This style is very common in pop, dance, hip-hop, and pop/rock productions.
In more underground or alternative productions, vocals aren’t always that upfront. Sometimes they’re blended into the music rather than sitting on top of it. Neither approach is right or wrong. The key is choosing the sound that fits your song and your production style.
The Actual Mixing Process: Step by Step
When you first open a mix, everything usually sits in the middle. Frequency-wise, it’s a mess. That’s normal.
The first step is volume and panning. Place every instrument where you want it to live in your 3D space. This alone already cleans up the mix and makes things more defined.
If there’s still too much overlap, that’s where equalization comes in. With an EQ, we can filter out frequencies we don’t need and highlight the ones we do. This helps give instruments their own space and adds sparkle where necessary.
When an instrument’s dynamics fluctuate too much—like a bass line with uneven notes or a snare with sharp peaks—we use compression. A compressor tames those peaks and helps keep the instrument balanced in the mix.
These tools aren’t there to fix bad sounds. They’re there to help place good sounds exactly where they belong.
Three Practical Takeaways to Apply Right Now
- Start every mix with volume and panning only. Don’t reach for plugins immediately. Get the balance and stereo image right first.
- Think in 3D, not just left and right. Use volume for depth, panning for width, and frequency for height.
- Choose a mixing style that fits the song. Don’t force commercial vocals onto an underground track, or vice versa.
Wrapping Up the Beautiful World of Mixing
Mixing is about fitting music into space. Once you understand that, everything becomes clearer. With just volume, panning, EQ, and compression, you can already create mixes that feel wide, balanced, and professional.
This is only the beginning. As you move forward, you’ll dive deeper into mixing consoles, signal flow, and more advanced techniques. But it all starts right here, with the basics and a clear mental picture of where your sounds live.
If you want to keep learning how to shape and control that space, stick around and dive into the next tutorials—this is where mixing really starts to get exciting.